 Thanksgiving is here !! Thinking about dessert again for the Thanksgiving, as boys are going to be home. Two years ago I found the recipe for Luscious Four layer Pumpkin cake on Kraft website. This recipe was with Nutty (pecan) caramel topping. My youger son does not like nuts and gets some throat irritation with walnuts or pecans. I had decided to make this with Kit Kat candy and topped with chocolate shaving. I made this two years ago. I had sent this to one of our dear family friends who always invite our son for their Thanksgiving feast. They loved it !!

Ingredients:
* 1 pkg yellow cake mix* 1 can (15 oz) Pumpkin, divided
* 1/2 cup milk
* 1/3 cup oil
* 4 eggs
* 1 and 1/2 tsp pumpkin spice divided* 1 pack of instant vanilla pudding mix
* 1 cup of sour cream
* 2 pks (8 oz) Cream cheese
* 1 cup powdered sugar
* 1 tub of Cool whip topping thawed

* 1/4 cup of your favorite chocolate shavings


* You will need 12" spring form pan or two 9" round cake pans.
* Heat oven to 350 F
* Beat cake mix, pudding mix, 1 cup pumpkin, milk, oil, eggs, sour cream and 1 tsp spice in large bowl.
* Mix until well blended.
* Bake for 35 min or until the inserted toothpick comes out clean.
* Cool cake pans for 10 min.
* Remove cake from pan and cool completely.


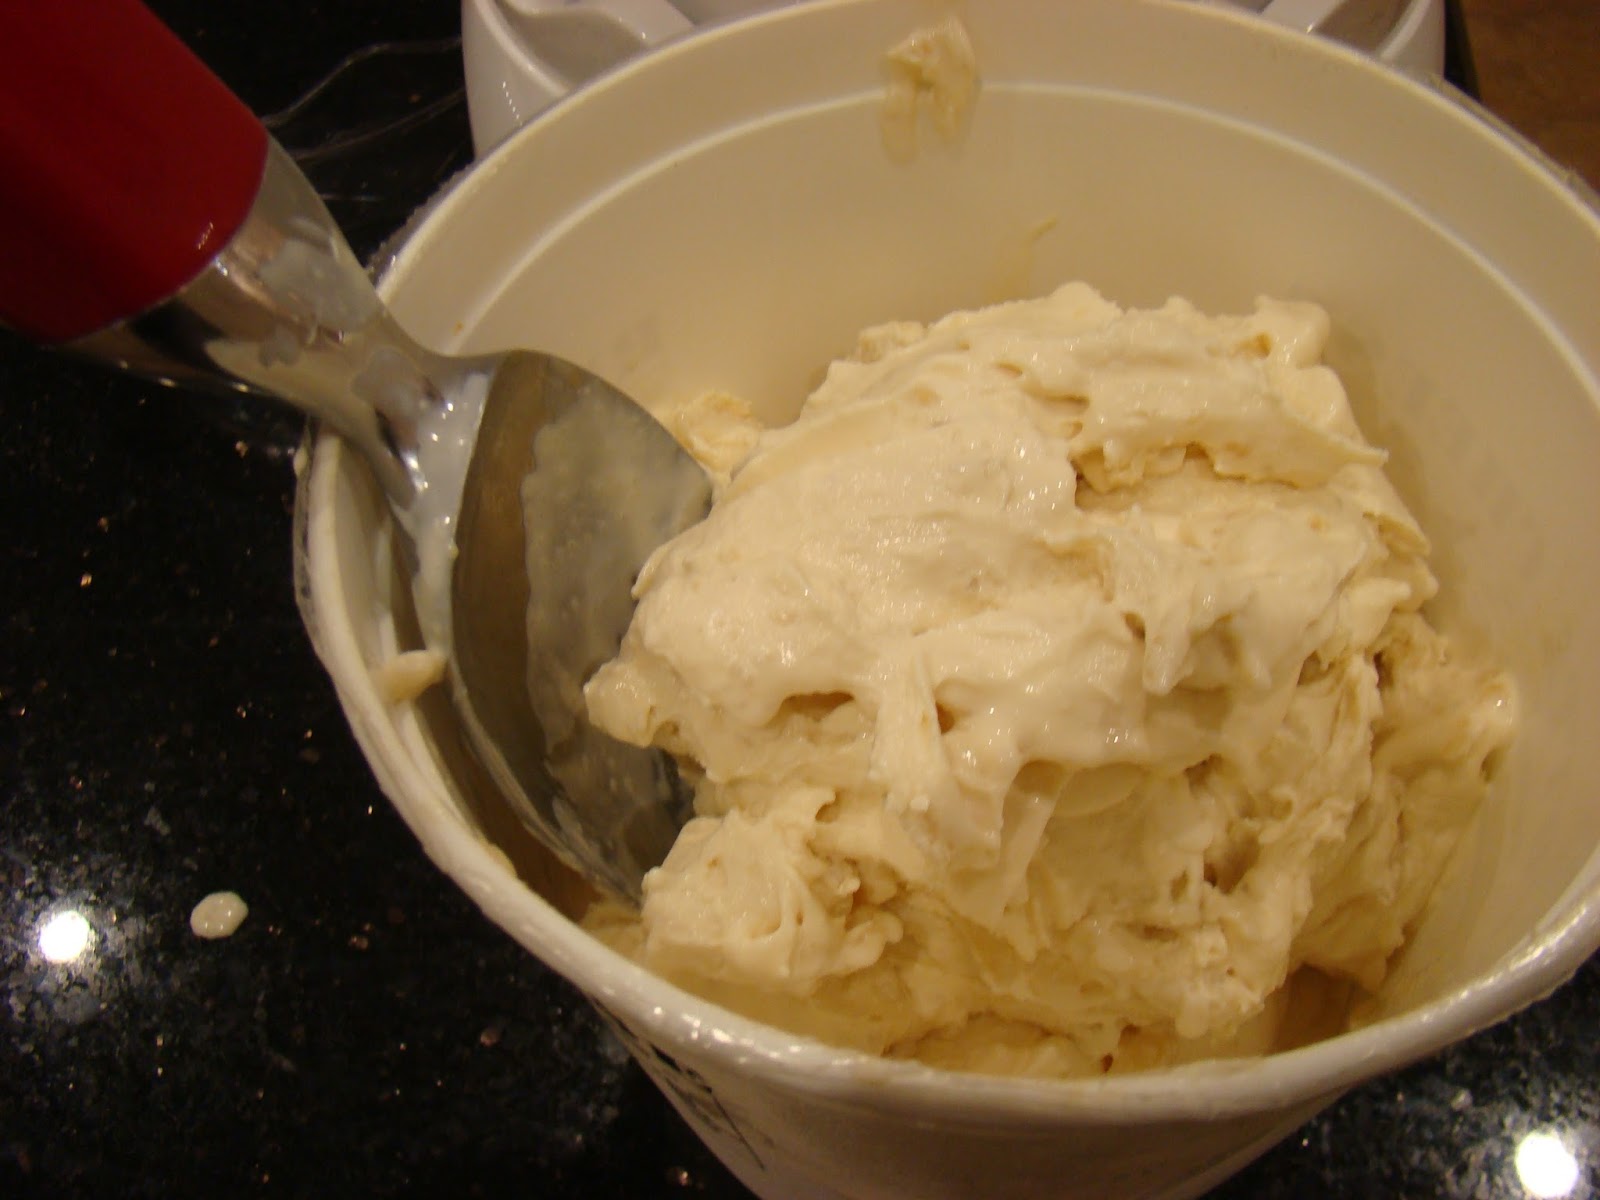
* Beat cream cheese in a bowl with mixer until creamy.
* Add powdered sugar, remaining pumpkin and spice.
* Mix well, gently stir in cool whip.
* Mix until everything is well incorporated.

* Make a horizontal cut around side of the cake, using long serrated knife.
* Remove the top layer by sliding a round 9-12 inch cardboard round, keep aside, repeat this process making three slices.
* Carefully place the bottom layer of cake on a paper dolly on a serving plate.

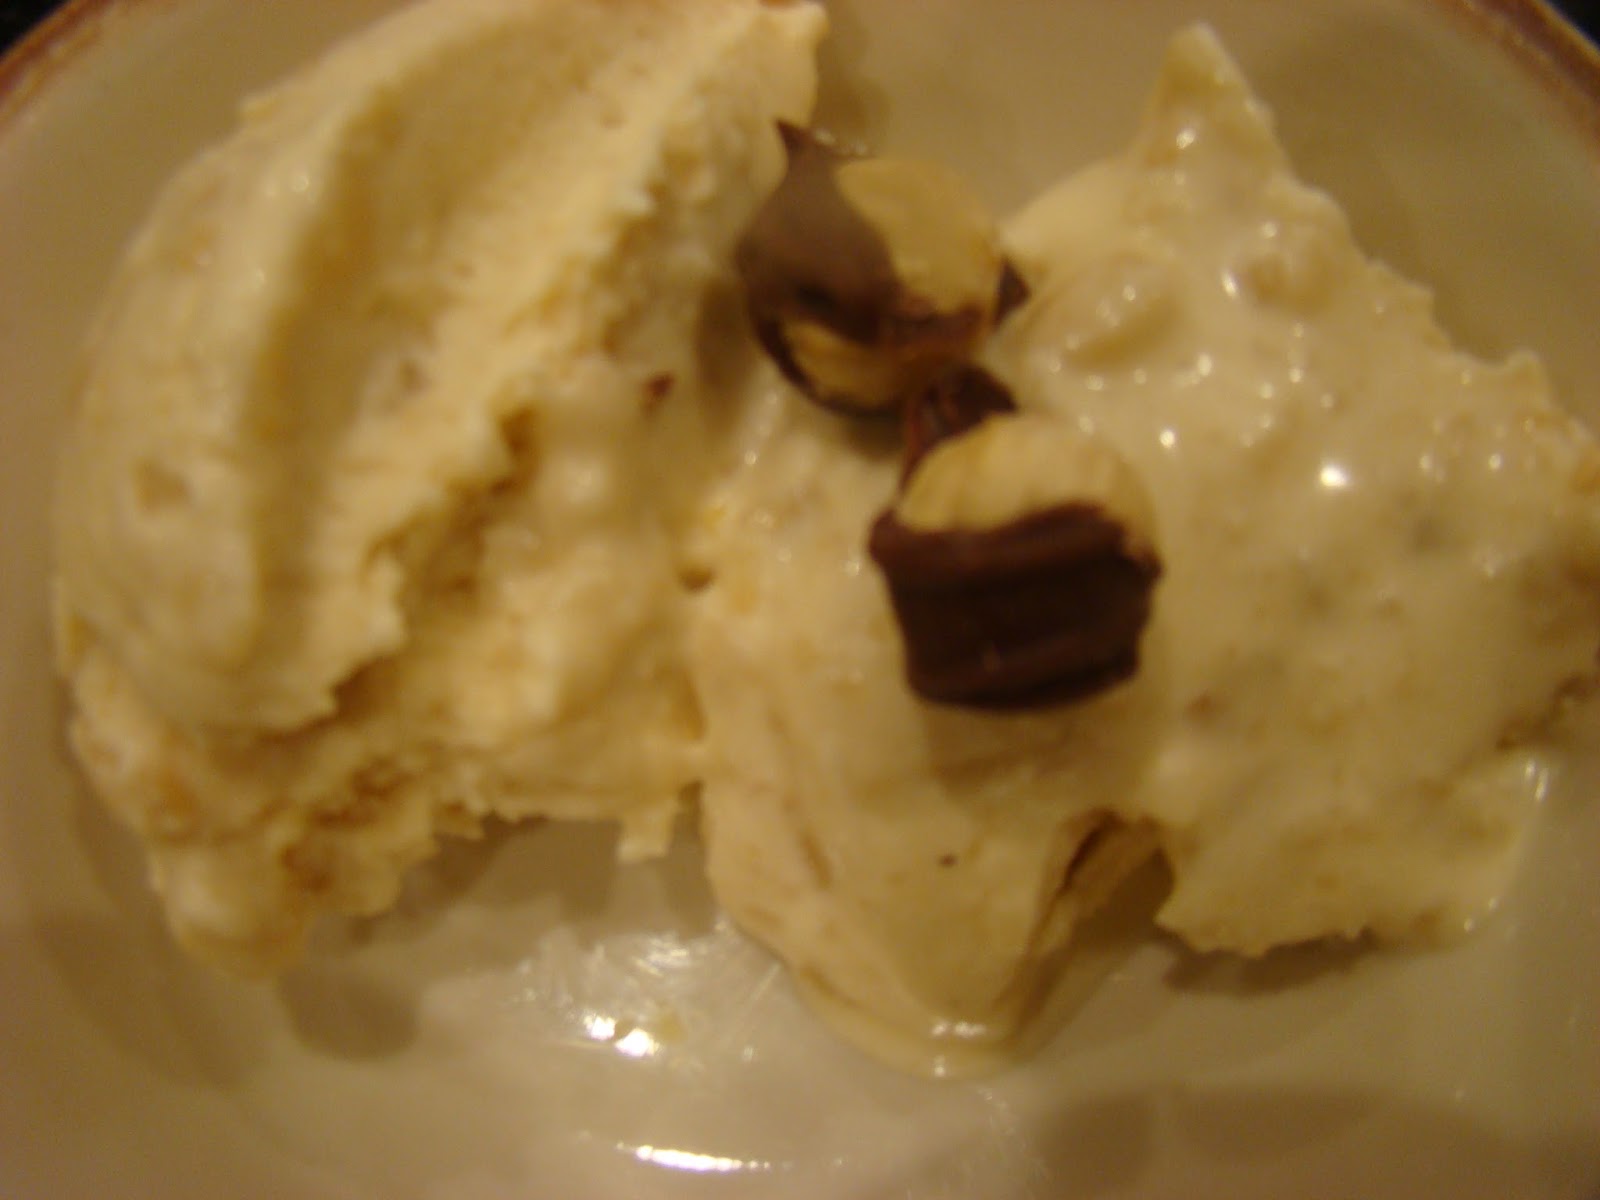
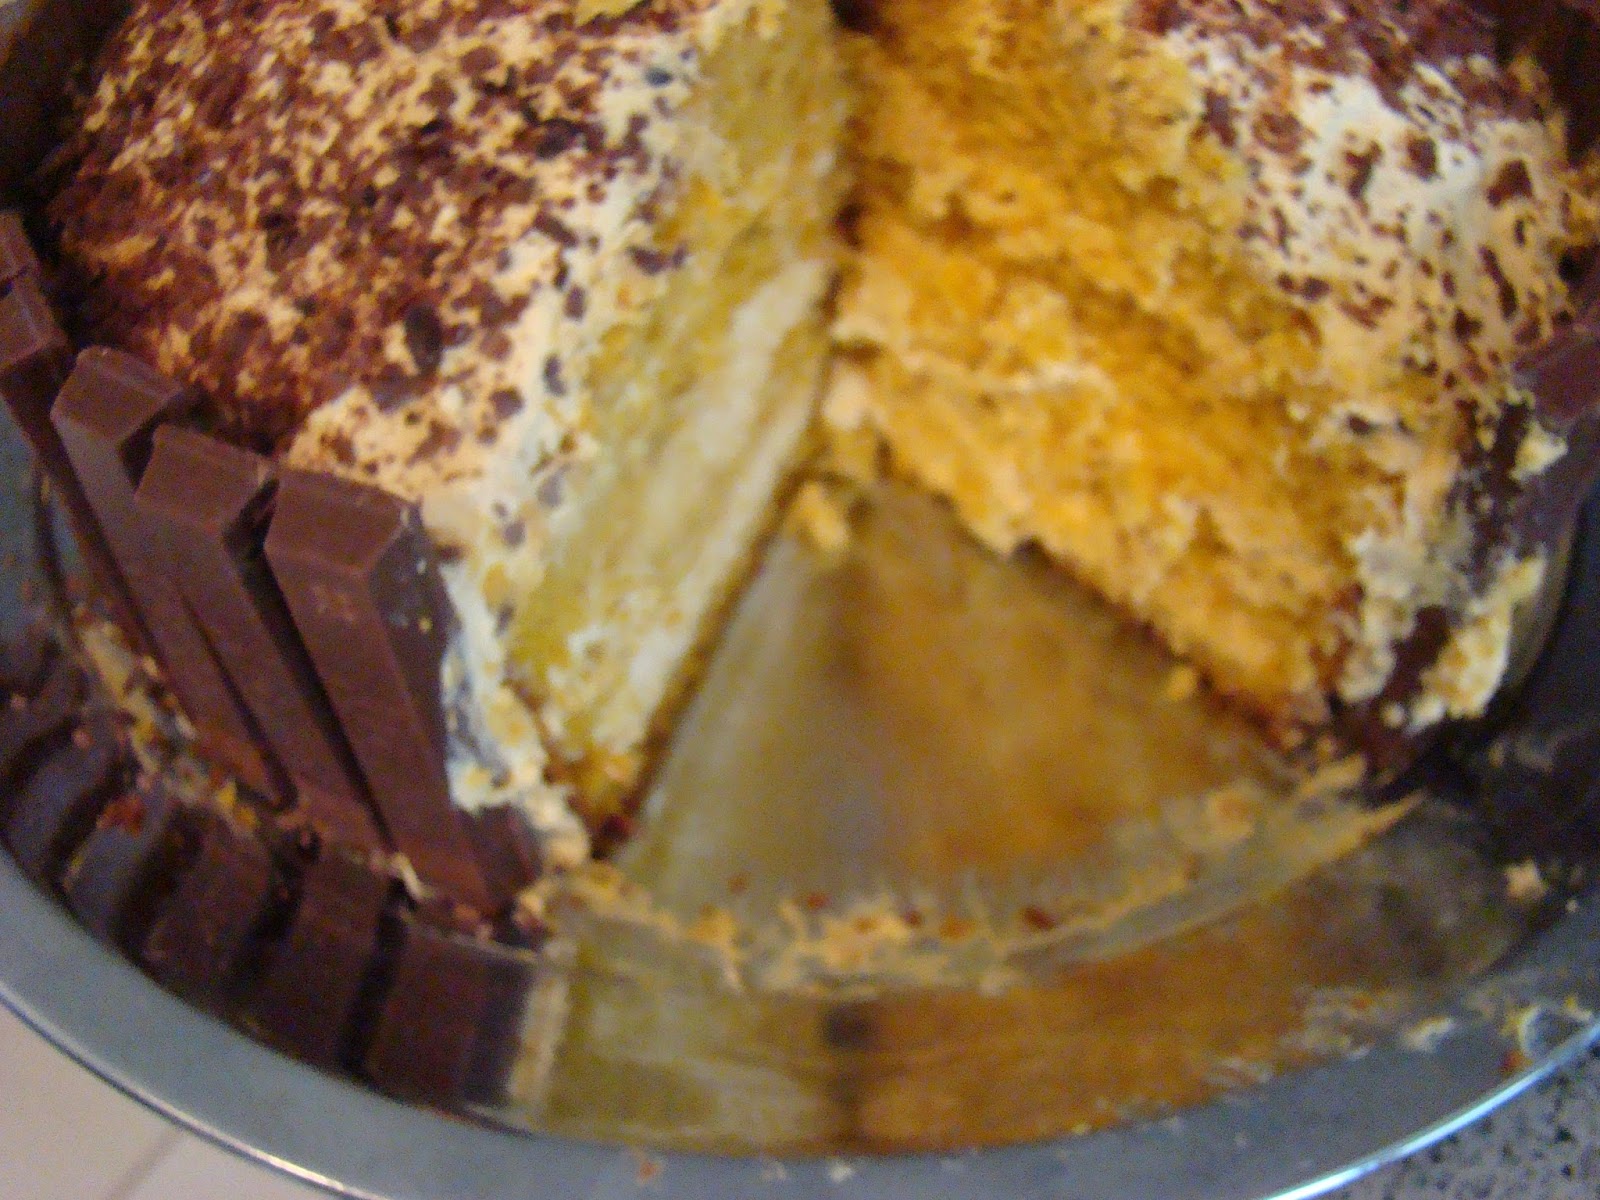
* Finally frost the cake all the way around. Break the Kit Kats in to single sticks and stack them around the cake making a fence like structure around the cake.
* Sprinkle chocolate shaving.


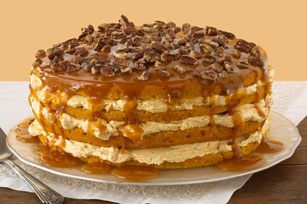
* If you wish to use caramel sauce with pecans as topping, you don't frost the top layer of cake.
For the caramel sauce you would need 10 caramel square, 1 tbl spoon of milk and 1/4 cup of chopped pecans.
* Microwave both on high for 2 min or until caramel begin to melt.
* Stir until caramels are completely melted.
*Drizzle over cake just before serving and top with nuts.

Recipe modified and adapted by Surekha from Original Recipe Source: Kraft Recipes
Photograph of caramel topping from Kraft recipes website link as follows: http://www.kraftrecipes.com/recipes/luscious-four-layer-pumpkin-cake-65930.aspx.
Rest of the photographs by Surekha.